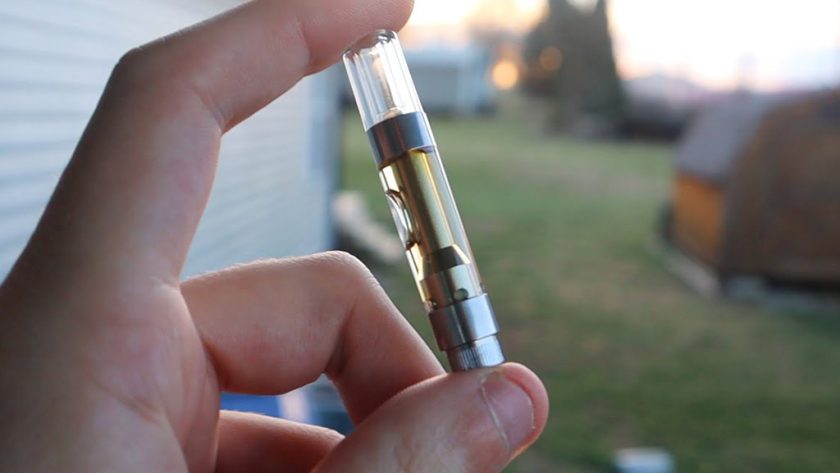
Regular cleaning and maintenance of your live resin vape cartridge are crucial for several reasons. It helps to prevent the buildup of residue and contaminants, which affect the taste and performance of your cartridge. Residual oils, waxes, and other by-products of vaping accumulate, leading to a decrease in flavour and potency. By keeping your cartridge clean, you ensure that each puff delivers the intended flavour and effect, providing a consistent and enjoyable experience.
Proper maintenance extends the lifespan of your live resin cartridge. By removing any potential blockages or clogs, you allow for smooth airflow and optimal vapour production. The heating element is also protected from unnecessary stress, reducing the risk of malfunctions or premature cartridge failure. Cleaning your live resin cartridge promotes hygiene and safety. Vaping involves inhaling vaporized cannabis, and any impurities or contaminants can potentially affect your respiratory system. Regular cleaning ensures that your cartridge remains free from bacteria or other harmful substances, providing a clean and healthy vaping experience. Now that we understand the importance of cleaning and maintenance let’s dive into the detailed process of cleaning your live resin vape cartridge:
Gather the necessary tools and supplies
Before you begin the cleaning process, ensure you have the following tools and supplies readily available:
- Isopropyl alcohol (at least 90% concentration)
- Cotton swabs or Q-tips
- A small, clean container or bowl
- Distilled water
- A soft-bristled brush (optional)
- A clean cloth or paper towels
- A small pair of tweezers (optional)
Prepare the cleaning solution
Fill the small container or bowl with isopropyl alcohol, ensuring it covers the bottom. The high concentration of alcohol is essential for effectively dissolving and removing any residue or contaminants from your cartridge.
Soak and clean the mouthpiece
Place the mouthpiece into the container filled with isopropyl alcohol. Allow it to soak for a few minutes, ensuring that all surfaces are thoroughly covered. The alcohol will help dissolve any residual oils or waxes, leaving the mouthpiece clean and free from impurities. While the mouthpiece is soaking, use a cotton swab or Q-tip to gently wipe away any visible residue or buildup from the internal chamber. Pay close attention to the edges and corners, as these areas tend to accumulate more residue.
Clean the battery connection
For the battery connection, use a clean cotton swab dipped in isopropyl alcohol to wipe down the contacts and any visible residue. Be gentle and avoid applying excessive pressure to prevent any damage to the delicate components. If there are any stubborn residues or buildup, use a soft-bristled brush to scrub the contacts gently. Ensure that the brush is clean and dry to avoid introducing any foreign particles.
Rinse and dry
After thoroughly cleaning the mouthpiece and battery connection, it’s time to rinse and dry the components. Rinse both parts with distilled water to remove any remaining alcohol residue. Ensure that you use distilled water to avoid introducing any minerals or impurities that may affect the taste or performance of your cartridge. Gently pat the components dry with a clean cloth or paper towel. Ensure that all surfaces are completely dry before reassembling the cartridge. Moisture leads to corrosion or electrical issues, so it’s crucial to ensure a thorough drying process.
Reassemble and test
Once all components are dry, carefully reassemble your live resin vape cartridge. Ensure a snug fit and proper alignment to maintain optimal performance. After reassembling, test your cartridge to ensure it functions correctly. Take a few puffs and observe the vapour production, flavour, and overall performance. If everything is in order, you can continue using your clean and well-maintained cartridge. Remember to store your cartridge properly, address any issues promptly, and replace it when necessary to maintain the highest quality vaping experience.


